Create infrastructure components
To utilize existing cloud infrastructure resourcse with the Catalyst APIs, you can onboard them by creating a Catalyst Component. Components all you to take advantage of your existing databases, message brokers, and 3rd party services while gaining the advantages of a common API surface. For more details on supported Infrastructure Components, read Components.
There are several ways to create components and onboard your infrastructure resources- each approach is detailed below.
Use the Catalyst console
The Catalyst console supports creating components through an intuitive, step-by-step flow.
-
Open the console and navigate to the
Componentspage in the navigation menu. -
Select the
Createbutton to onboard a new service.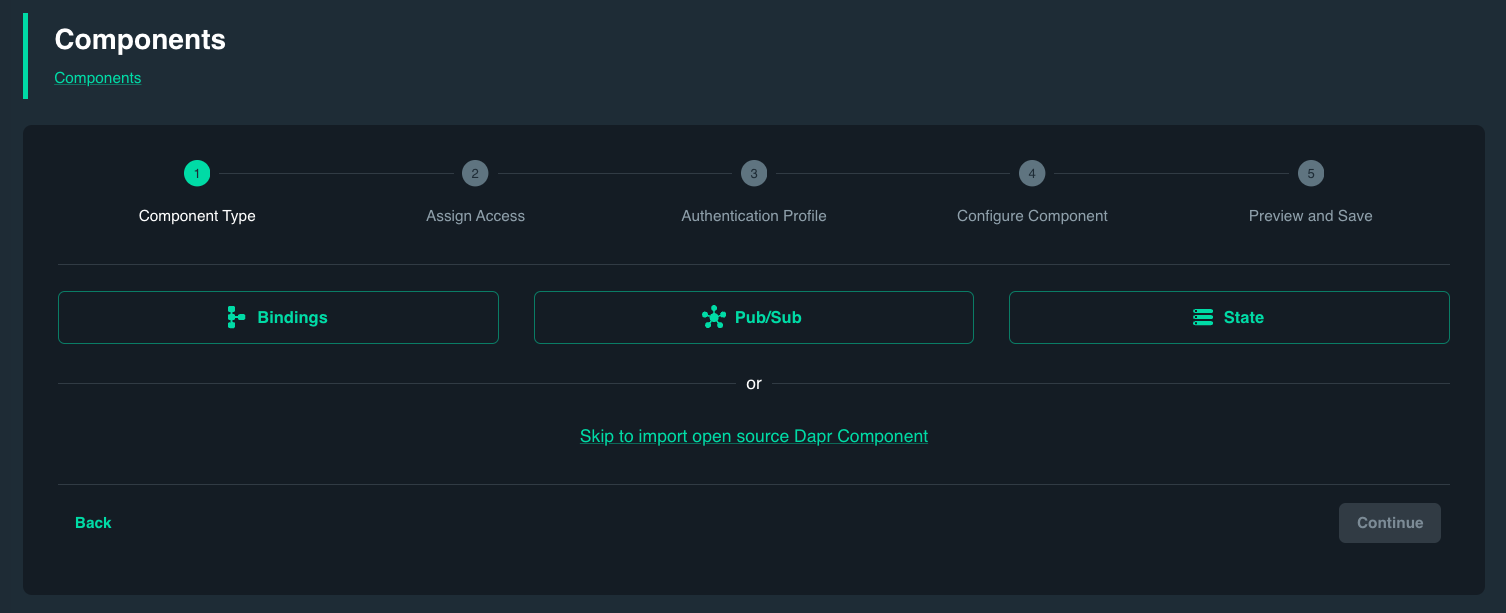
-
Select the component type: PubSub, State or Binding or choose to skip the creation process to onboard an existing OSS Component manifest.
-
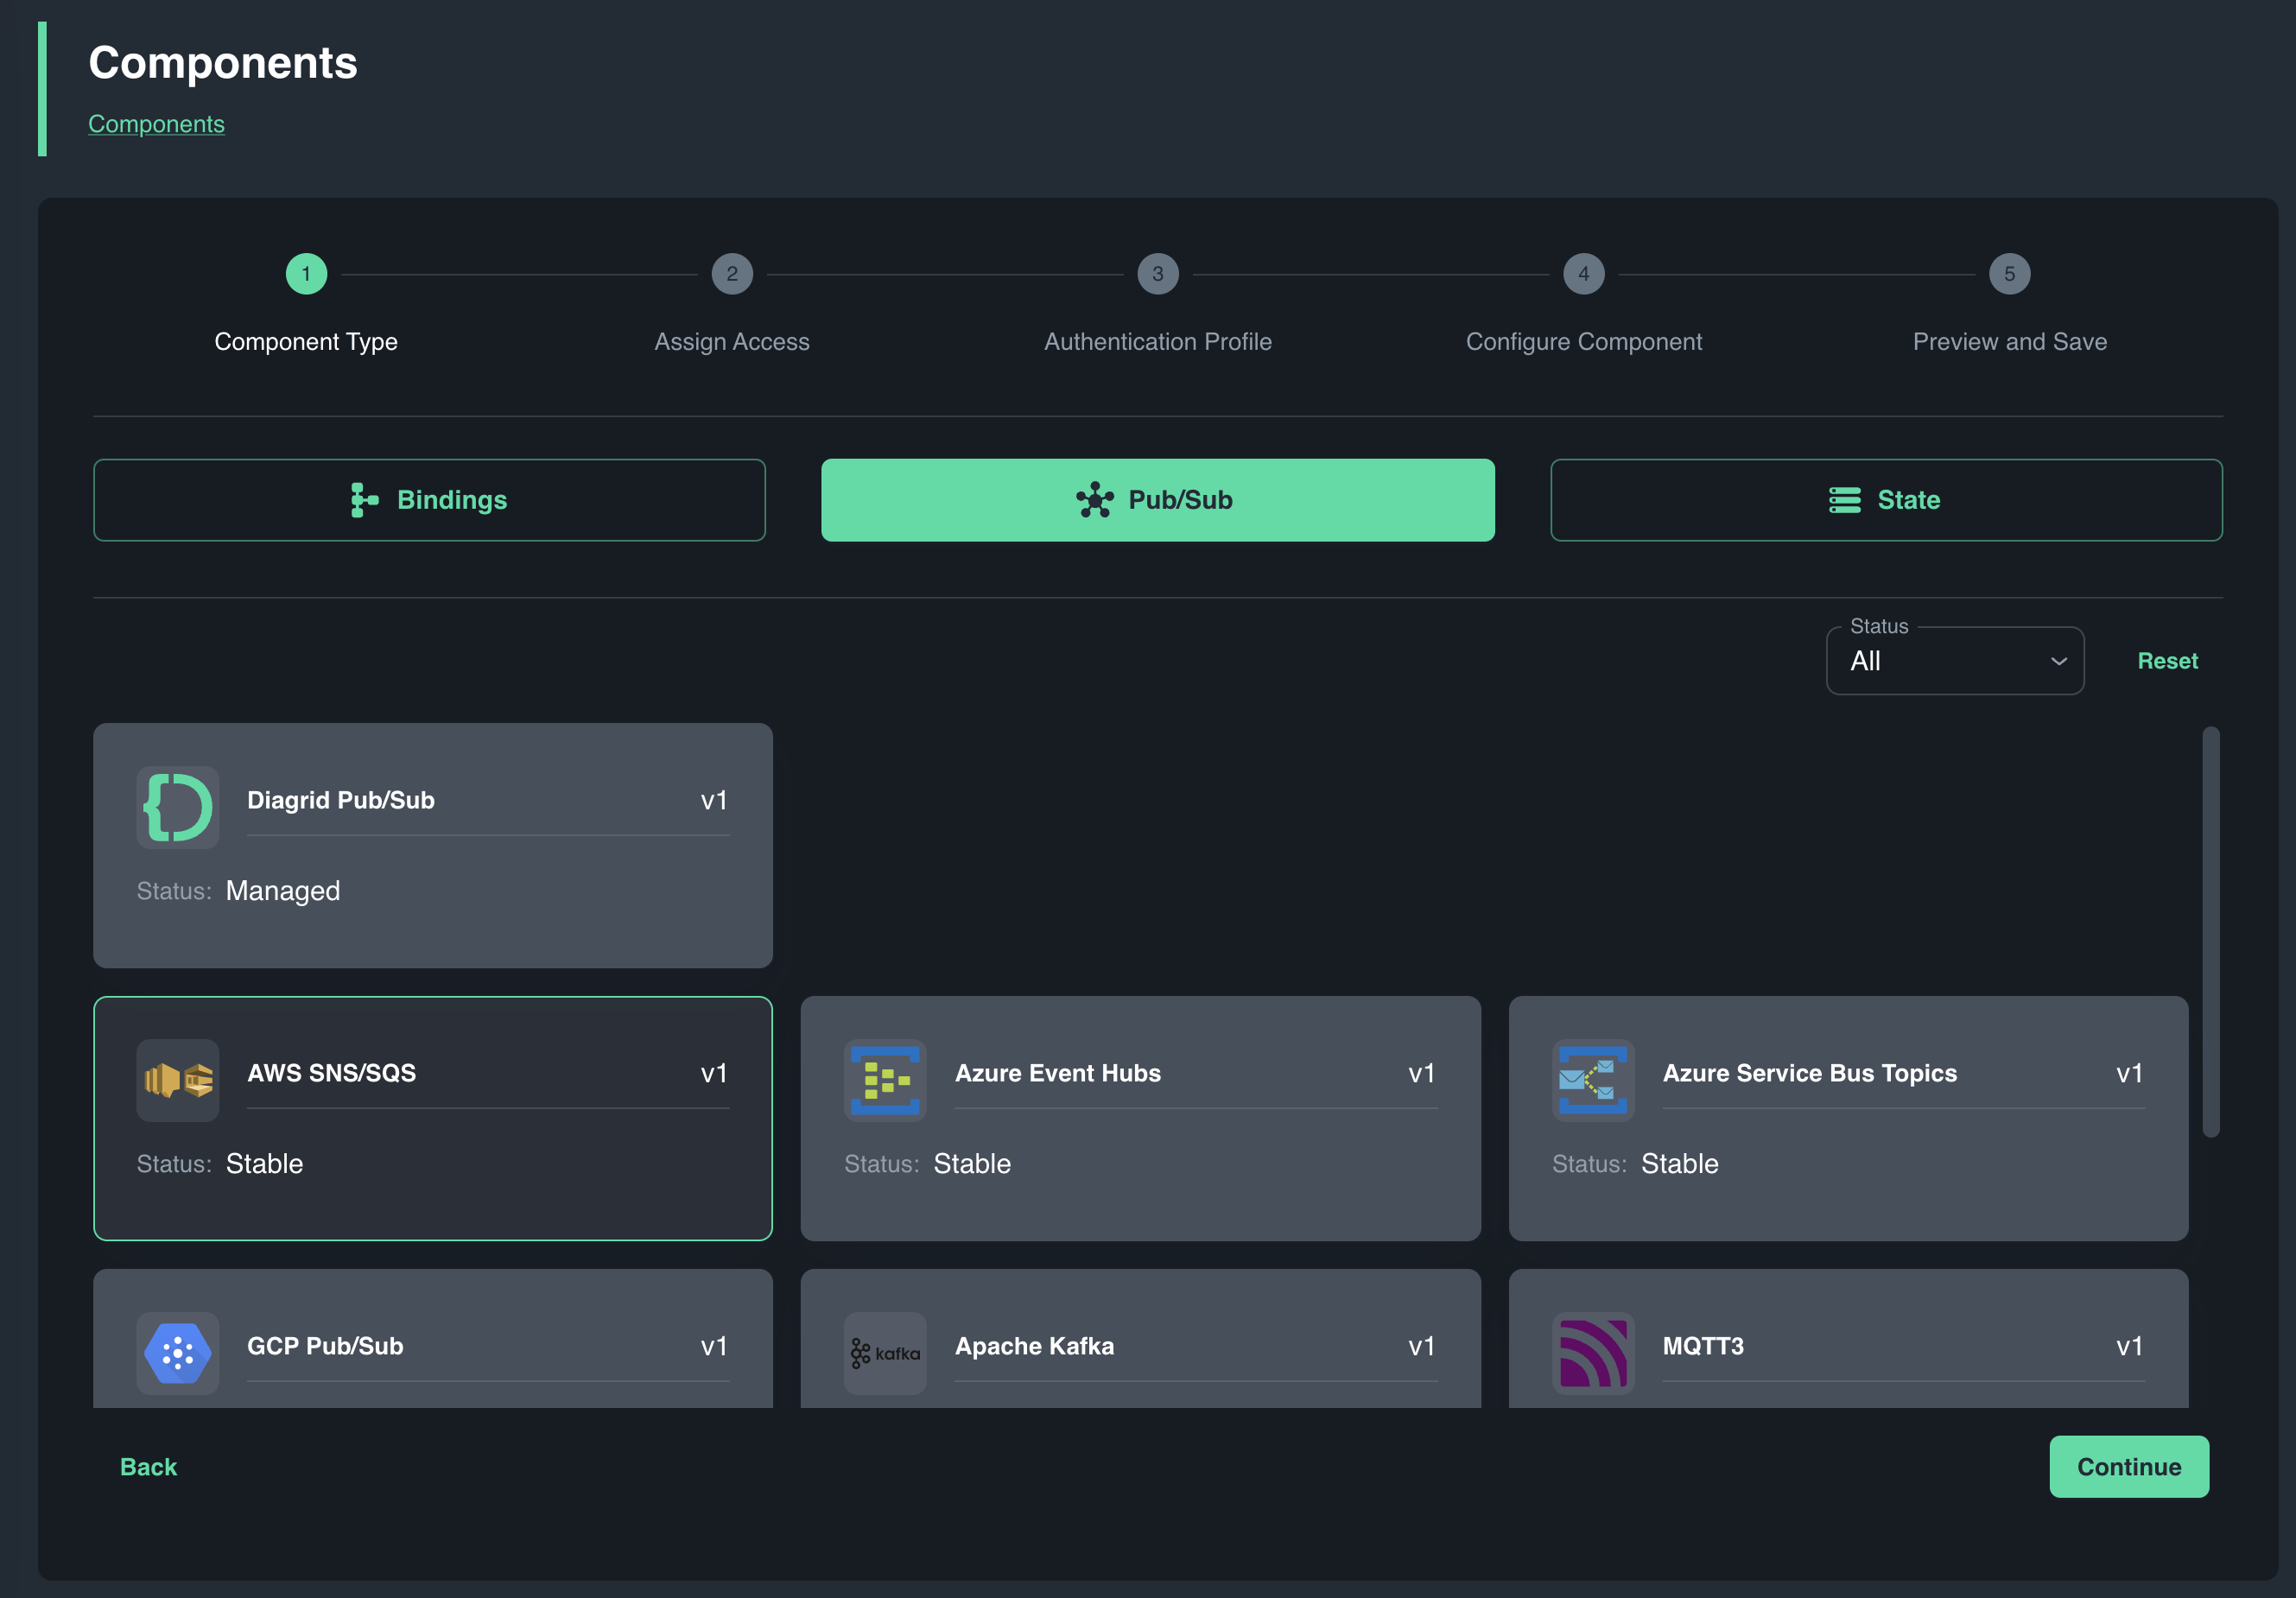
Select the omponent target from the list of supported services.
-
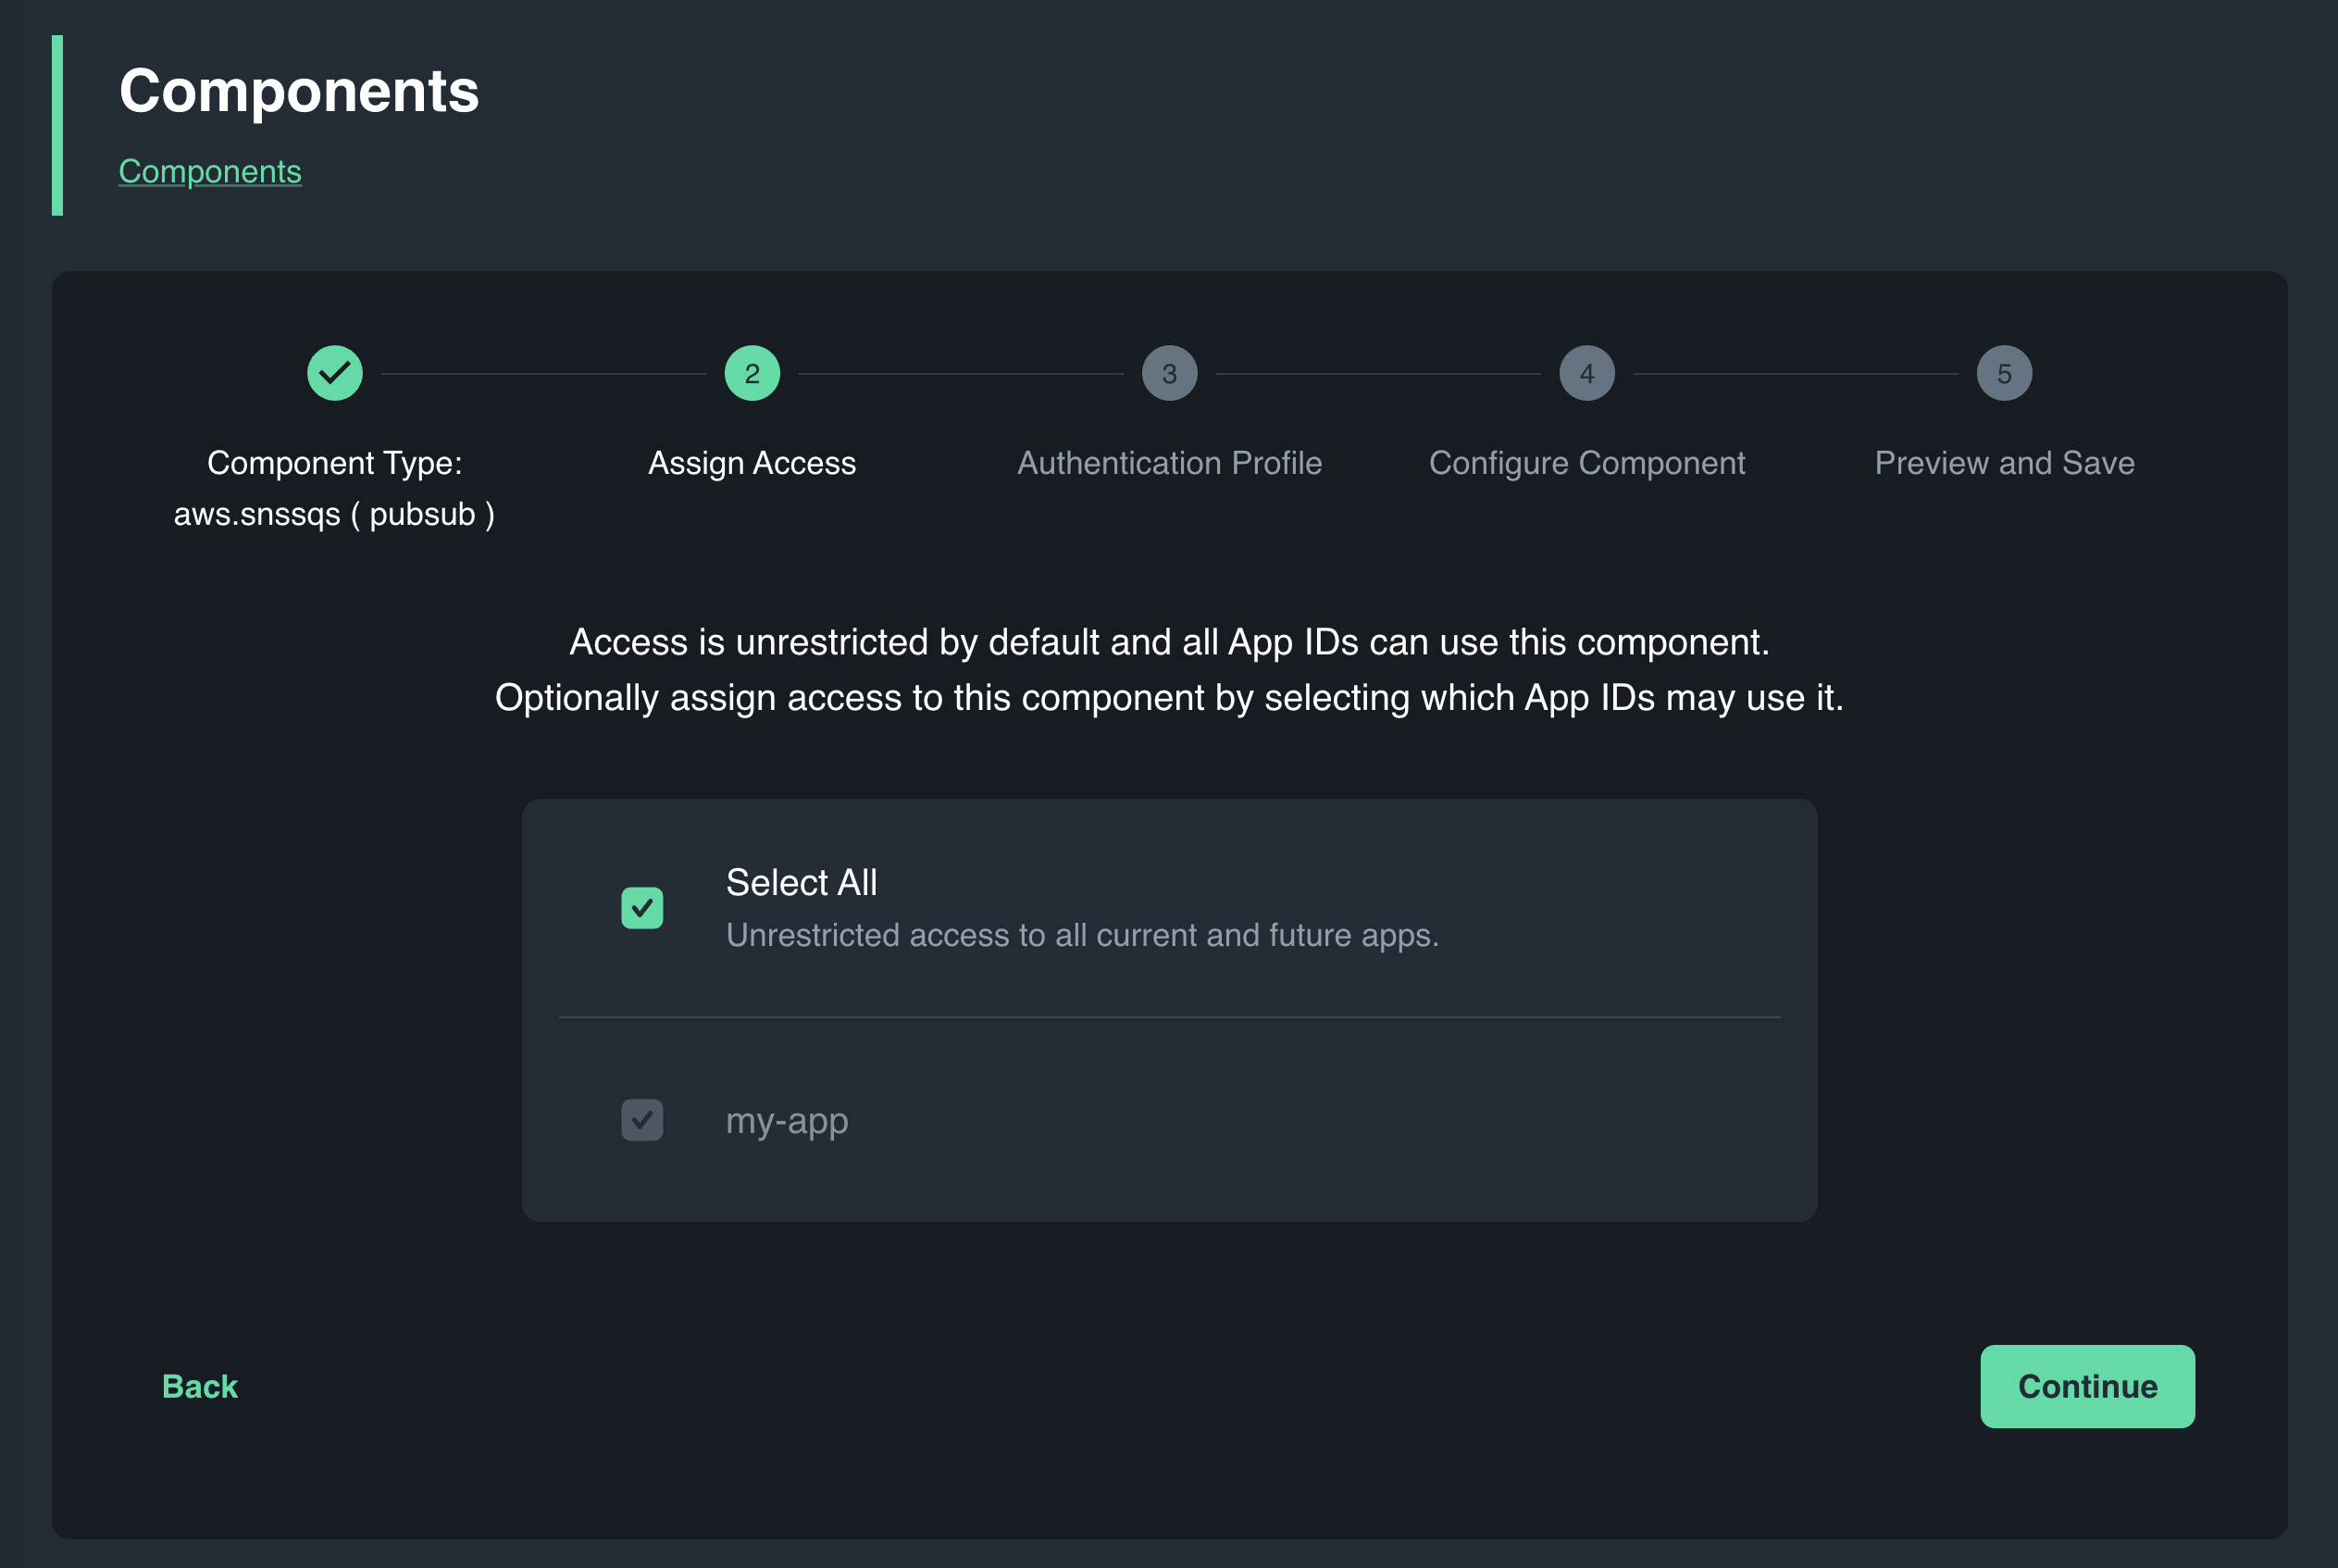
Assign access to desired App IDs. By default all App IDs will be able to access the omponent via supported APIs.
-
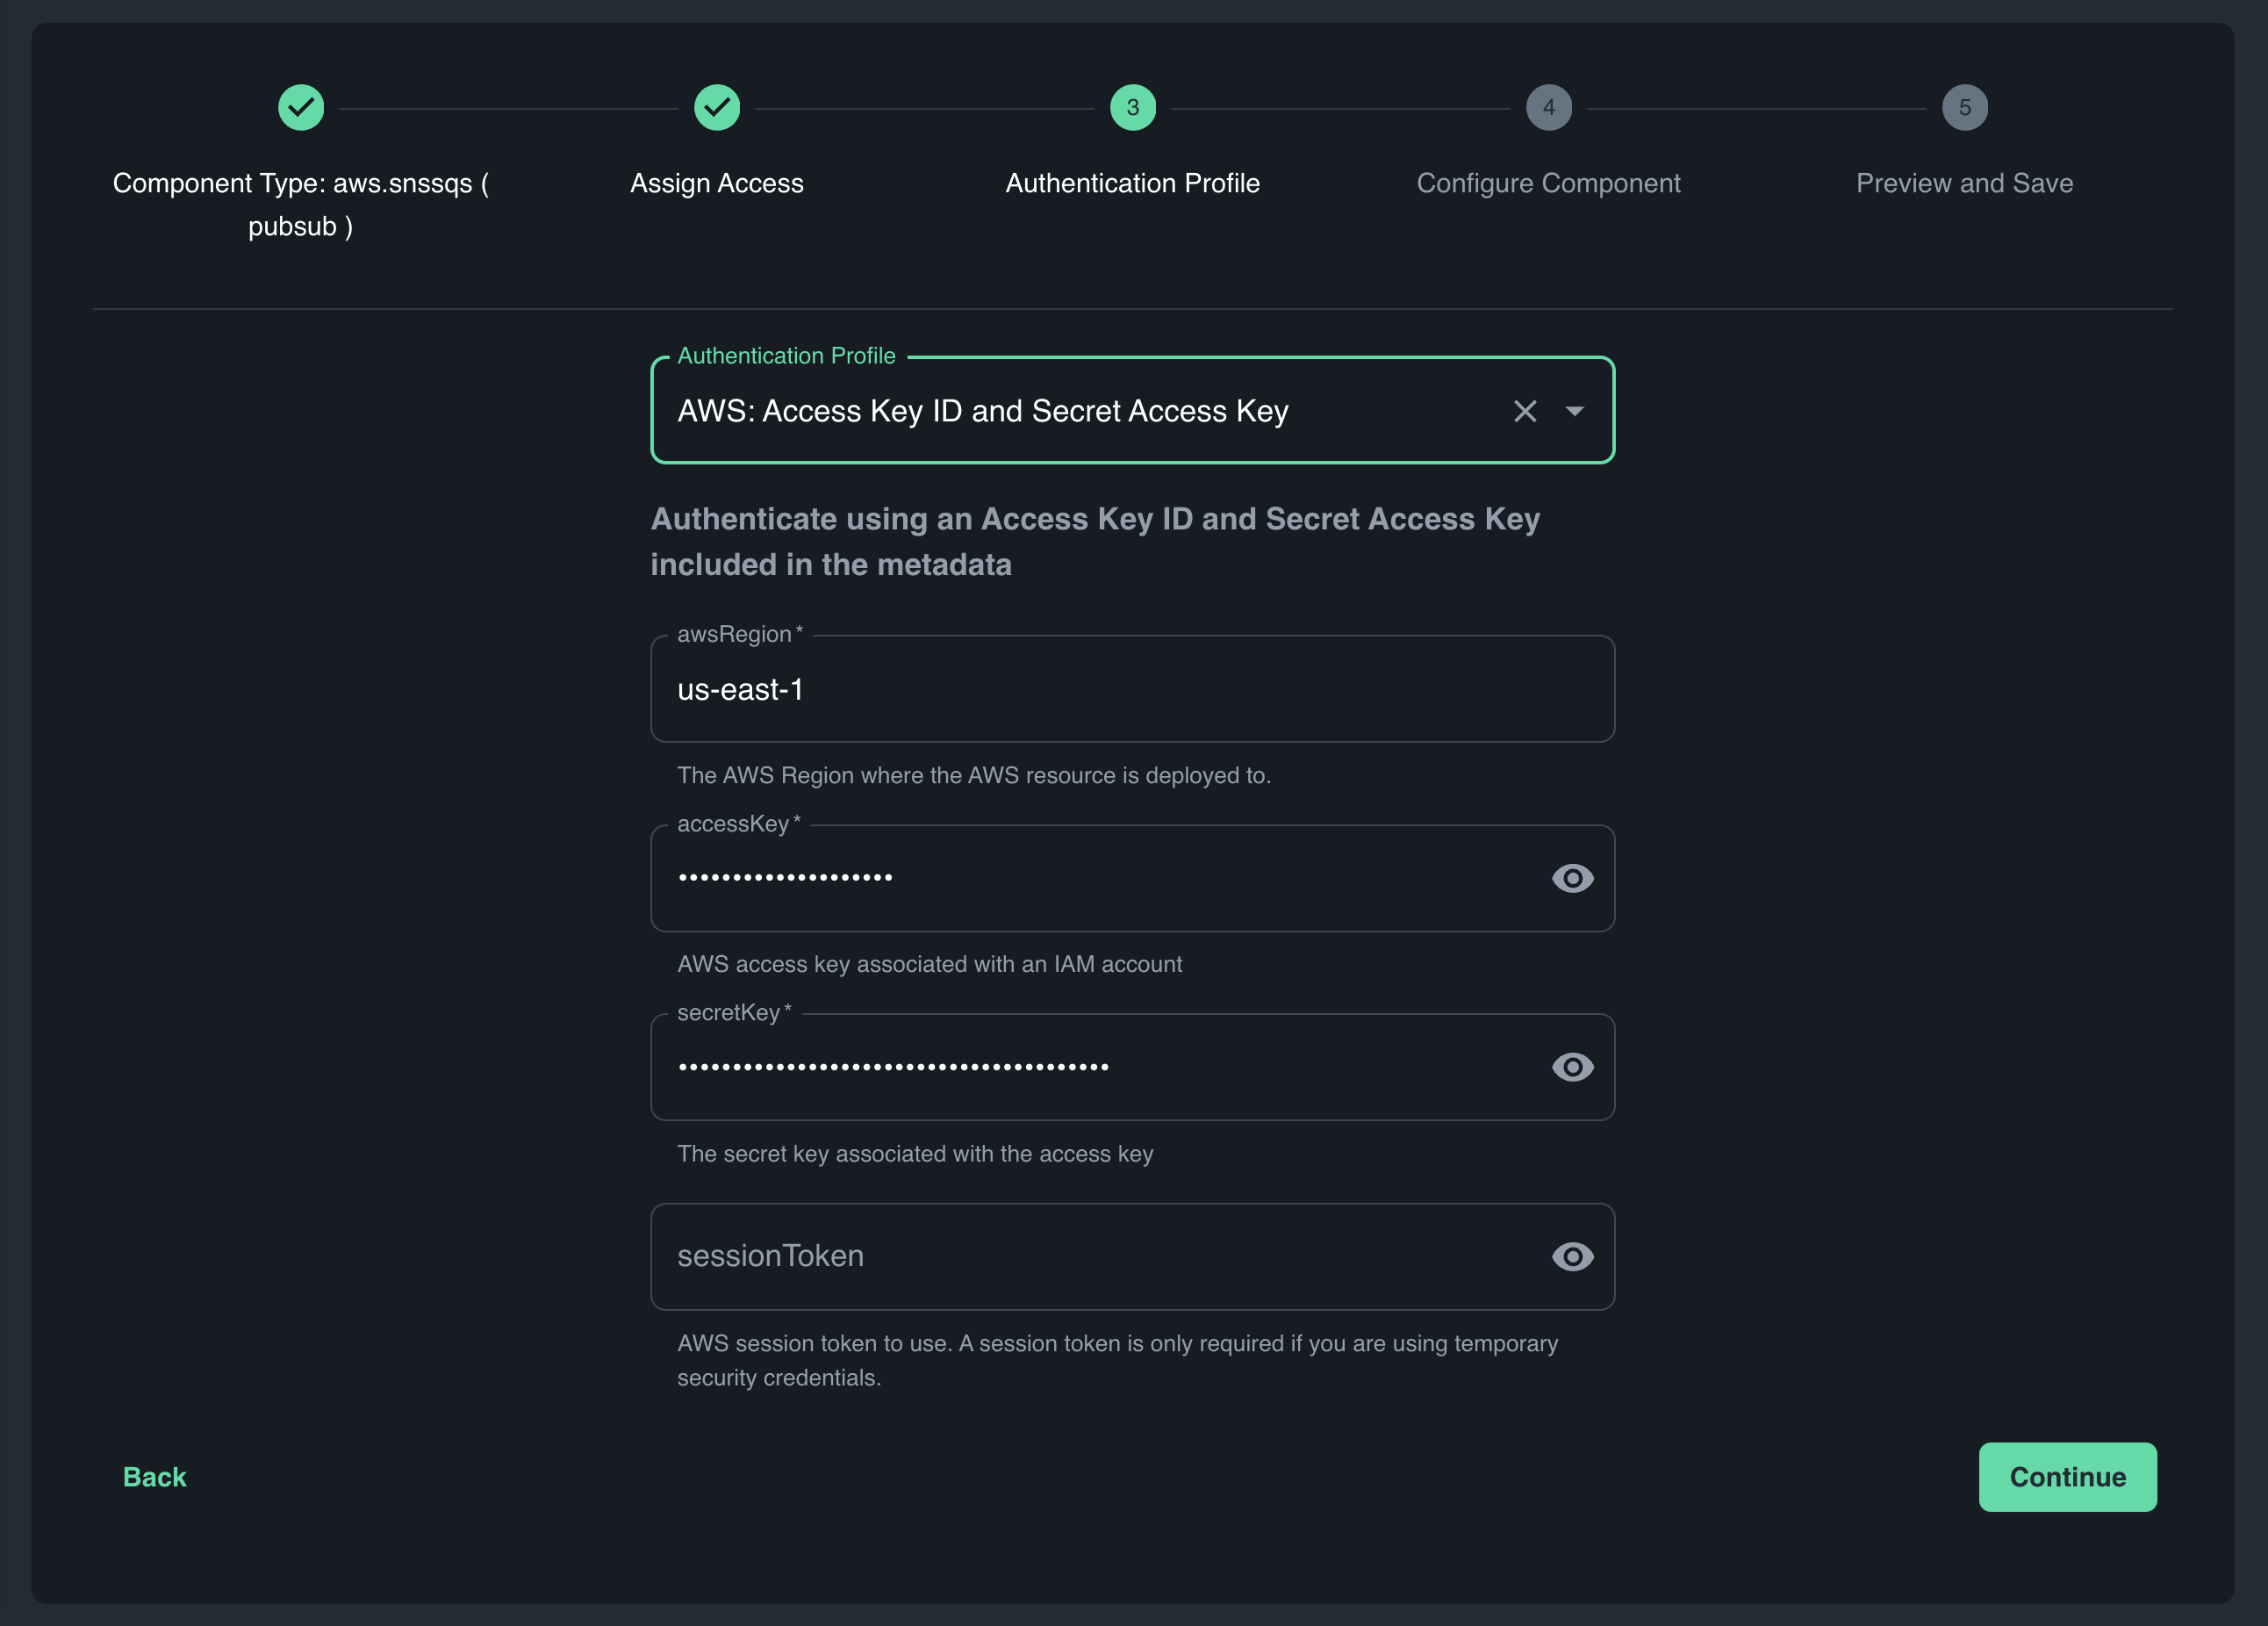
Select the authentication profile for connecting to the resource. Authentication profiles will vary per component target.
-
Configure the component by providing all the required metadata fields and any optional metadata fields that you desire.
- Use the Catalyst component specs for additional documentation on the supported component metadata and the Dapr open source
Referencedocs linked in the upper-left corner. - Optional metadata can be added into the component by using the
+icon.
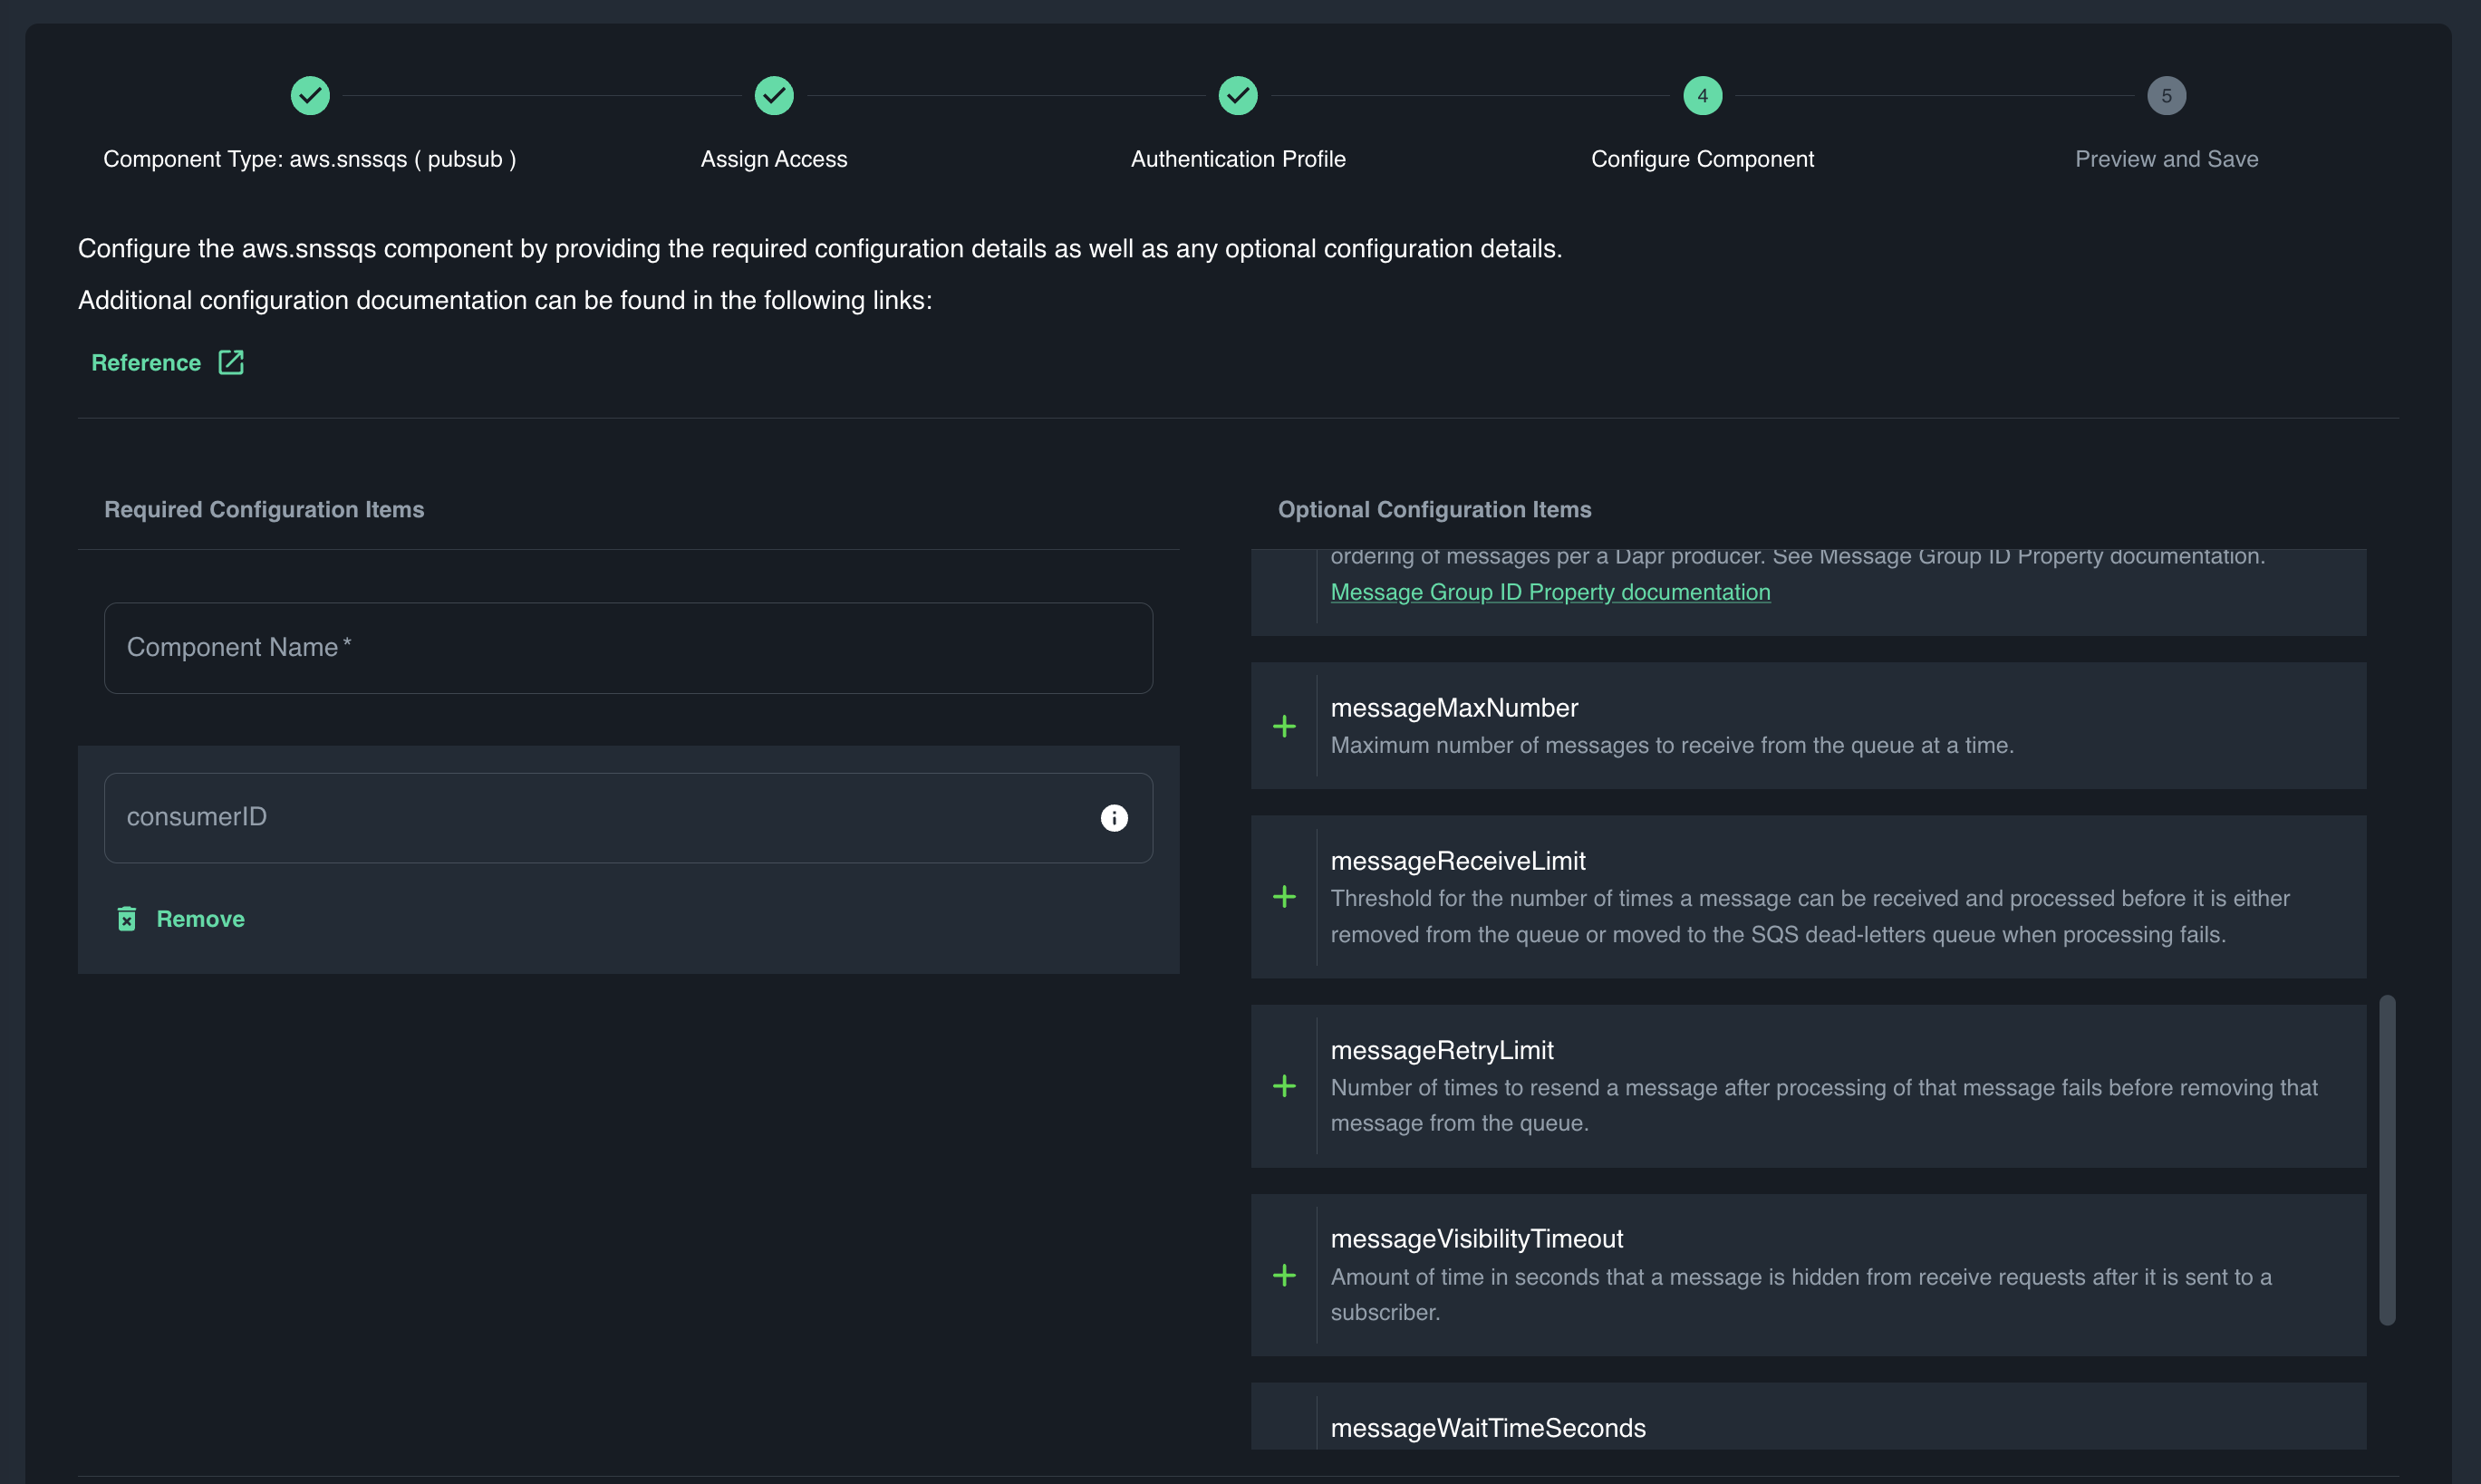
- Use the Catalyst component specs for additional documentation on the supported component metadata and the Dapr open source
-
Optionally enable default resiliency policies for retries, timeouts and circuit breakers on inbound/outbound requests to/from the resource. These resiliency policies act on top of any built-in resiliency and might only make sense in one direction for some component types.
-
Choose
Continueto review your the configuration details and thenSaveto create the component and make it available to the Catalyst APIs.
At this point you will be redirected to the components list page, where you can monitor the Status of your newly created component.
Use the Diagrid CLI
There are multiple ways to create components in the Diagrid CLI. To install the CLI, follow the instructions here.
Use the prompt-based CLI
The Diagrid CLI supports creating components using an interactive, prompt-based experience.
-
Login to the CLI and verify your identity.
diagrid login
diagrid whoami -
Open the prompt-based wizard for component creation. Navigate using the return, up/down arrow and escape keys.
diagrid component create --prompt
-
Select the component type: PubSub, State or Binding.
-
Select the component target from the list of supported resources.
-
Select the authentication profile for connecting to the resource. Authentication profiles will vary per Component target.
-
Assign access to desired App IDs. By default all App IDs will be able to access the Component via supported APIs.
-
Configure the authentication details for the component by providing all required metadata fields.
For additional documentation on the supported Component metadata, refer to the Catalyst component specs.
-
Finish configuring the component by providing all remaining required metadata fields and any optional metadata fields that you desire.
At this point you have created your component. Monitor the status by running the following command.
diagrid component get <component-name>
Apply a declarative component
Catalyst supports creating and modifying components using a declarative YAML format. This allows you to save components as part of your source control system and utilize them in development toolchains.
-
Login to the CLI and verify your identity.
diagrid login
diagrid whoami -
Create a declarative YAML compoent file for the infrastructure resource you want to connect to the Catalyst APIs. The component format conforms to the open-source Dapr Component specification for the respective resource with the following exceptions:
apiVersion:cra.diagrid.io/v1beta1kind: Component- The value for
metadata.namespacebecomes your Catalyst project name - App ID scoping is nested as
spec.scopes
For a complete reference of supported Catalyst components and associated metadata descriptions refer to Catalyst component specs. For example, a component for a Redis state store might be as follows, with additional metadata available in the Redis Component spec.
apiVersion: cra.diagrid.io/v1beta1
kind: Component
metadata:
  name: redis-state
  namespace: <catalyst-project>
spec:
  type: state.redis
  version: v1
  metadata:
    - name: redisHost
      value: <your-redis-host>
    - name: redisPassword
      value: <REDACTED>
    - name: enableTLS
      value: true
  scopes:
    - appid-1
- appid-2 -
Save the YAML file and create the component resource in Catalyst by running the following:
diagrid apply -f <component.yaml>
At this point you have created your component. Monitor the status by running the following:
diagrid component get <component-name>
Open Source Dapr Components
Catalyst has support for importing and exporting open source Dapr components as Catalyst component resources. Please read the Dapr compatibility guide for additional details.